Blog Post Page Setup Guide
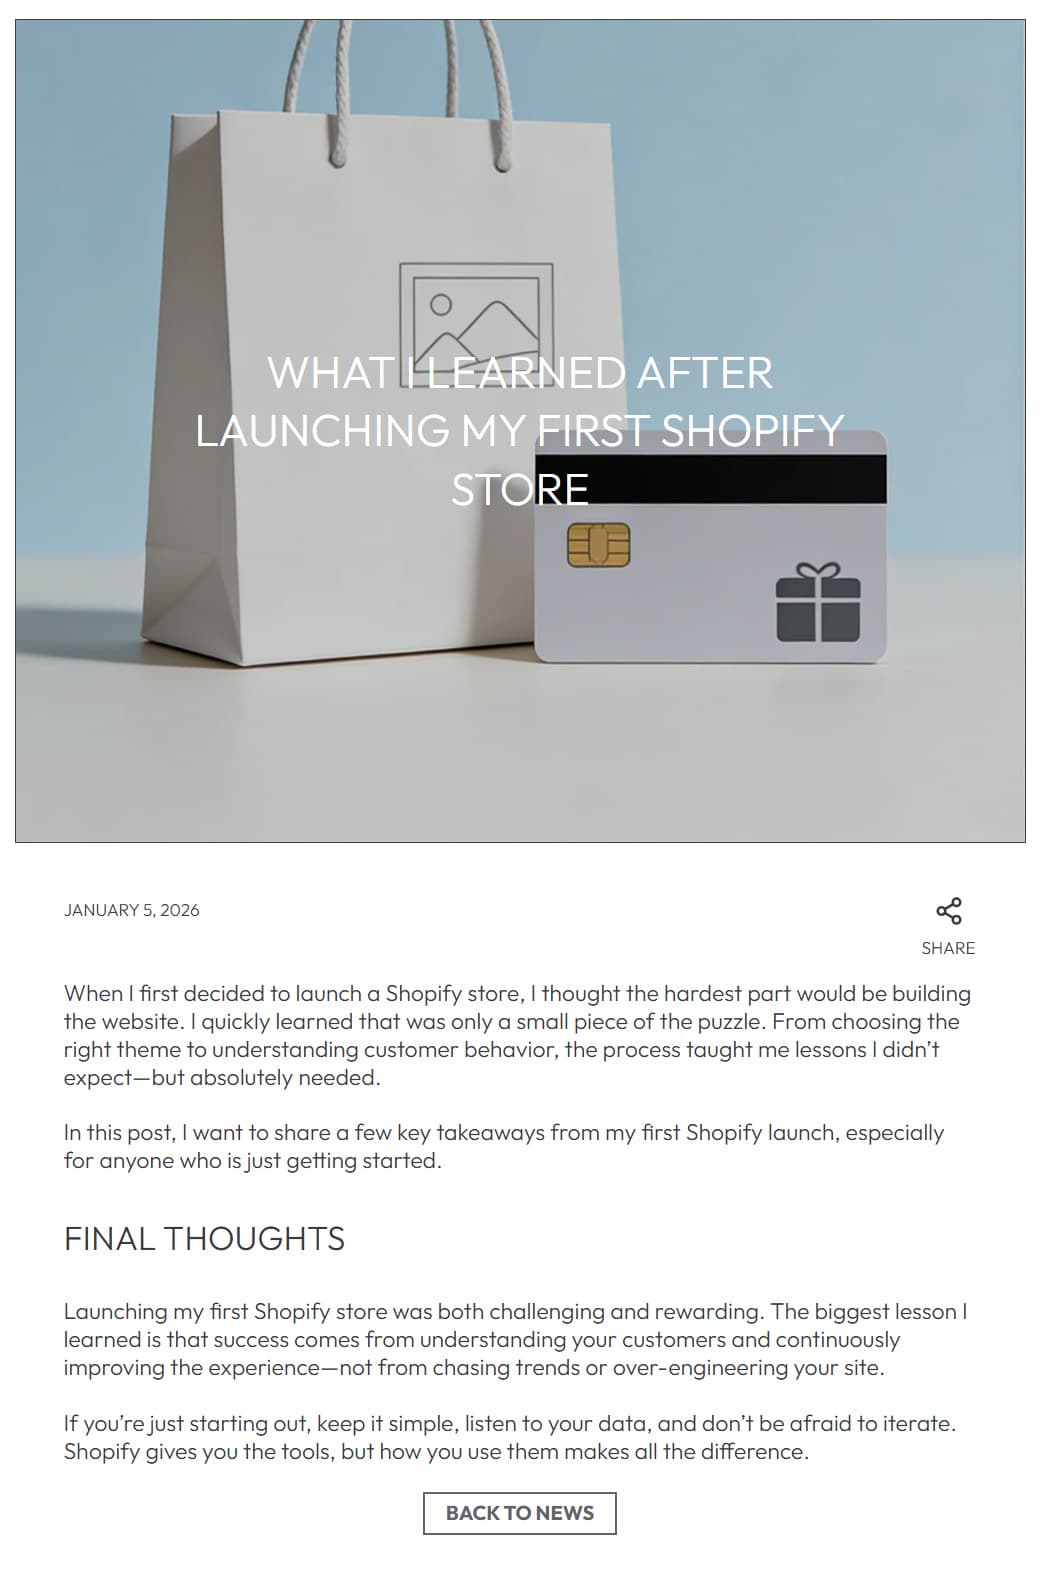
The Blog Post Page is the single article detail page for your Shopify blog (e.g., yourstore.com/blogs/news/what-i-learned-after-launching). It displays the full content of a single blog article, and its style (banner, layout, sharing options) is configured in the theme customizer — while the article’s content (text, image) comes from your Shopify backend.
Access Page Style Settings:
Online Store → Themes → Customize → Blog post (select the target blog article)
Edit Article Content (Backend):
Content → Blog posts → [Select the article to edit]
1. Backend: Edit Blog Article Content
All core content (text, image) on the Blog Post Page is set in the Shopify backend:
Content (Article Body)
- Write/edit the full article text here — use formatting tools (headings, lists, links) to make long content scannable.
- This text displays in the
Content section of the Blog Post Page (below the banner).
Image (Article Banner Visual)
- Upload a featured image (via the "Edit" button in the backend) — this becomes the background of the
Article banner (in the theme customizer). - Use a high-resolution image (recommended width:
2688 px for sharp display across devices).
Organization
- Author: Set the article’s author name (displays on the page if
Show author is enabled). - Blog: Assign the article to a blog (e.g., "News") — determines which Blog Posts List Page the article appears on.
2. Theme Customizer: Blog Post Page Settings
These settings control the visual layout and elements of the single article page:
Article Banner Block
This is the top banner section of the page (uses the article’s featured image from the backend):
- Image height: Sets the banner’s height (default:
Small). Match to your image’s orientation (e.g., use "Large" for tall images). - Enable parallax: Adds a scrolling parallax effect to the banner image (requires a minimum image size of
2688 × 2150 px — disables Image height if enabled). - Use text protection layer: Toggles a semi-transparent overlay on the banner image (ensures the article title/text is readable against busy visuals).
- Text protection layer: Adjusts the overlay’s brightness (0 = darken image; slide right = lighten image) — only active if the protection layer is enabled.
Content Block
Controls elements displayed alongside the article text:
- Show date: Toggles display of the article’s publish date (e.g., "January 5, 2026").
- Show author: Toggles display of the article’s author (set in the backend).
- Share buttons: Enables social sharing options (Facebook, Twitter, Pinterest) — lets visitors share the article directly.
Always enable the Text protection layer if your banner image has bright or busy visuals — unreadable text will drive visitors away!
Best Practices
- Keep content scannable: Use short paragraphs, headings, and bullet lists in the article body — most visitors skim long text.
- Use consistent banner images: Upload featured images with a similar ratio (e.g., wide 16:9) to keep banner sizing consistent across all articles.
- Enable share buttons: Social sharing helps expand your article’s reach (especially for helpful/entertaining content).
- Test mobile readability: Ensure text is large enough and buttons are tap-friendly on mobile (avoid tiny fonts or cramped spacing).
- Add a "Back to Blog" link: Include a button/link to return to the Blog Posts List Page (e.g., "BACK TO NEWS") — helps visitors browse more content.
The Blog Post Page is where visitors engage deeply with your content — focus on clear formatting, readable banner text, and easy sharing to make the article valuable and shareable!