Blog Posts Page Setup Guide
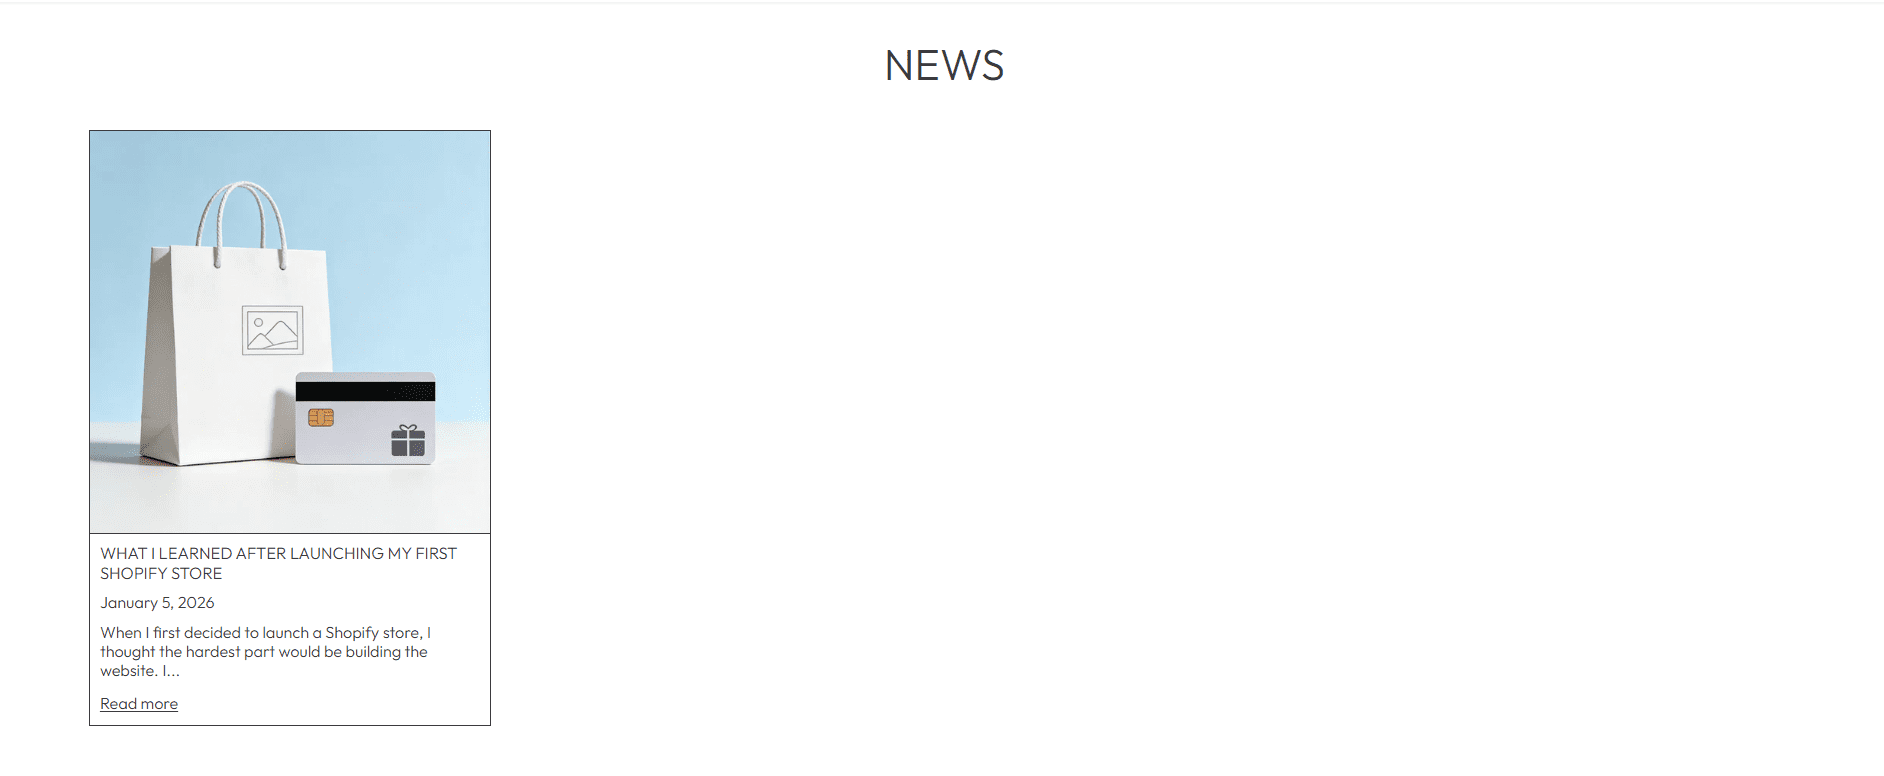
The Blog Posts Page is the list page for a specific blog (e.g., yourstore.com/blogs/news), where "News" is the blog name set in your Shopify backend. It displays all published articles under that blog, formatted as cards — this page helps visitors browse your store’s blog content (e.g., news, guides, stories).
Access Page Settings:
Online Store → Themes → Customize → Blog posts (select the target blog, e.g., "News")
Edit Blog Articles (Backend):
Content → Blog posts → [Select/Add an article]
1. Backend: Edit Blog Articles
All content on the Blog Posts Page comes from articles you create/edit in the Shopify backend:
Content (Article Body)
- Edit the full article text here — use formatting tools (headings, lists, links) to make content scannable.
- This text is only visible when a visitor clicks "Read more" on the article card.
Image (Article Card Visual)
- Upload a featured image (via the "Edit" button) — this displays as the thumbnail on the article card.
- Use a consistent ratio (e.g., square) for all article images to keep the page layout neat.
Organization
- Author: Set the article’s author name (displays on the card if enabled in settings).
- Blog: Select the blog this article belongs to (e.g., "News" — determines which Blog Posts Page the article appears on).
Visibility
- Use
Set as visible/Set as hidden (in the backend article list) to control if the article displays on the page. - Hidden articles won’t appear to visitors, but you can still edit them.
2. Theme Customizer: Blog Posts Page Settings
These settings control the layout and styling of the article list:
Featured article
- Click
Select to pick a "featured" article (displays prominently at the top of the page, if your theme supports it). - Note: If your store has multiple blogs, the same featured article will show on all Blog Posts Pages.
Blog post card
Toggle elements to display on each article card:
- Show date: Displays the article’s publish date (e.g., "January 5, 2026").
- Show author: Displays the author name (set in the backend article).
- Show excerpt: Displays a short summary (edit the "Excerpt" field in the backend article — don’t leave it blank!).
- Show tags beneath blog post titles: Displays article tags (add tags in the backend article to categorize content).
Write a 1-2 sentence excerpt for each article — it teases content and encourages visitors to click "Read more"!
Theme Settings
- Articles per row (labeled "Products per row"): Controls how many article cards display in a row (desktop only). Default:
4 — adjust to 2-3 for larger cards. - Image ratio: Sets the aspect ratio for article card images (default:
Square — match this to your uploaded image ratio to avoid cropping). - Global border radius: Changes the corner shape of article cards (default:
Square — use Rounded for a softer look).
Best Practices
- Use consistent images: Upload article images with the same ratio (e.g., square) to keep the page layout clean.
- Edit excerpts: Don’t rely on auto-generated excerpts — write custom summaries to highlight the article’s value.
- Categorize with blogs: Create separate blogs for different content types (e.g., "News" for updates, "Guides" for tutorials) to help visitors find what they want.
- Keep articles active: Hide outdated articles (e.g., expired promotions) to avoid confusing visitors.
- Mobile-test cards: Ensure card text/images are readable on mobile (no tiny fonts or cropped visuals).
The Blog Posts Page is a great way to engage visitors with brand content — focus on clear, consistent card styling and compelling excerpts to encourage clicks into your articles!